How to Increase C: Drive Space in Windows 11 Without Losing Data
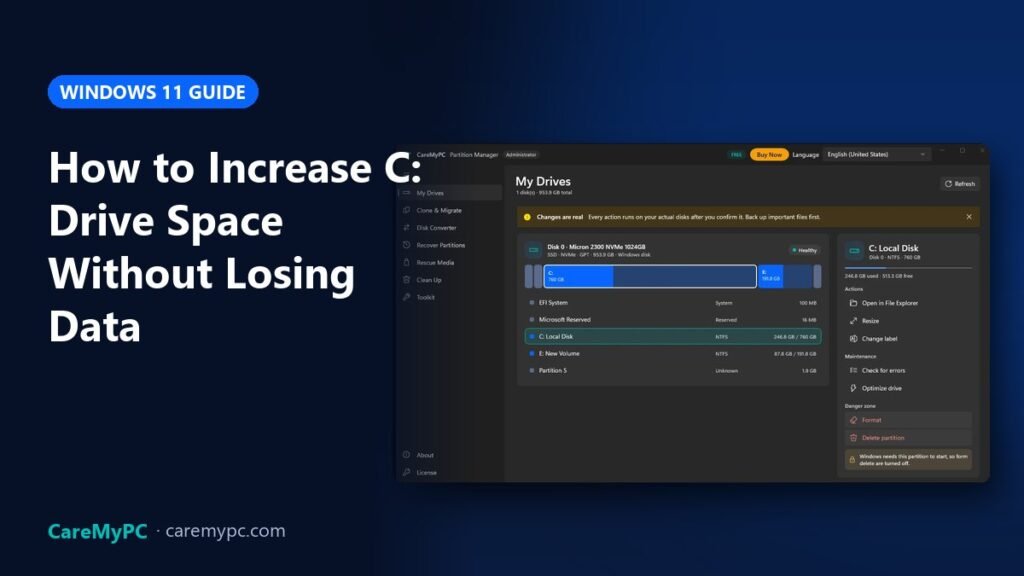
Seeing a red C: drive bar in File Explorer, or a “Low disk space” warning? Windows needs free space on C: for updates, the page file, temporary files and restore points. When it runs out, updates fail, apps crash and the whole PC slows down.
This guide shows two ways to get more space on C:. First, free space without touching partitions. Second, make the C: partition itself bigger. Both work on Windows 10 and Windows 11.
In this guide
1. Check how much space C: really has
Open Settings → System → Storage. Windows shows what is using space: apps, temporary files, documents, pictures and “Other”. As a rule of thumb, keep at least 15–20% of C: free, or about 20 GB on a small SSD, so updates have room to install.
To see how your whole disk is divided, press Win + X and choose Disk Management. You will see C:, any other partitions such as D: or E:, and small system partitions like “EFI System” and “Recovery”. Keep this layout in mind for step 4.
2. Free up space without changing partitions
Try these first. They are safe and often recover 10–40 GB:
- Storage Sense / Cleanup recommendations: in Settings → System → Storage, open Cleanup recommendations. Remove temporary files, old Windows Update files and the Recycle Bin.
- Disk Cleanup for system files: search “Disk Cleanup”, choose C:, click Clean up system files, and tick Windows Update Cleanup and Delivery Optimization Files.
- Move big personal folders: right-click Downloads, Videos or Pictures → Properties → Location tab → Move to another drive.
- Uninstall apps and games you don’t use: Settings → Apps → Installed apps, sort by size.
- Find large and duplicate files: a cleaner such as CareMyPC PC Optimizer lists large files, duplicates and junk in one scan, so you can decide what to delete.
If C: is still nearly full after this, the partition itself is too small for how you use the PC. Time to resize it.
3. Why “Extend Volume” is greyed out
Windows’ own Disk Management can only extend C: into unallocated space that sits directly to the right of C: on the same disk. On most PCs, the space next to C: is taken by a Recovery partition or by your D:/E: data partition, so Extend Volume stays grey.
To fix this, the free space has to be moved next to C:. You can do this by shrinking a neighbouring partition and moving it, or by moving the recovery partition. Disk Management can’t move partitions; a partition manager can.
4. Increase the C: partition, step by step
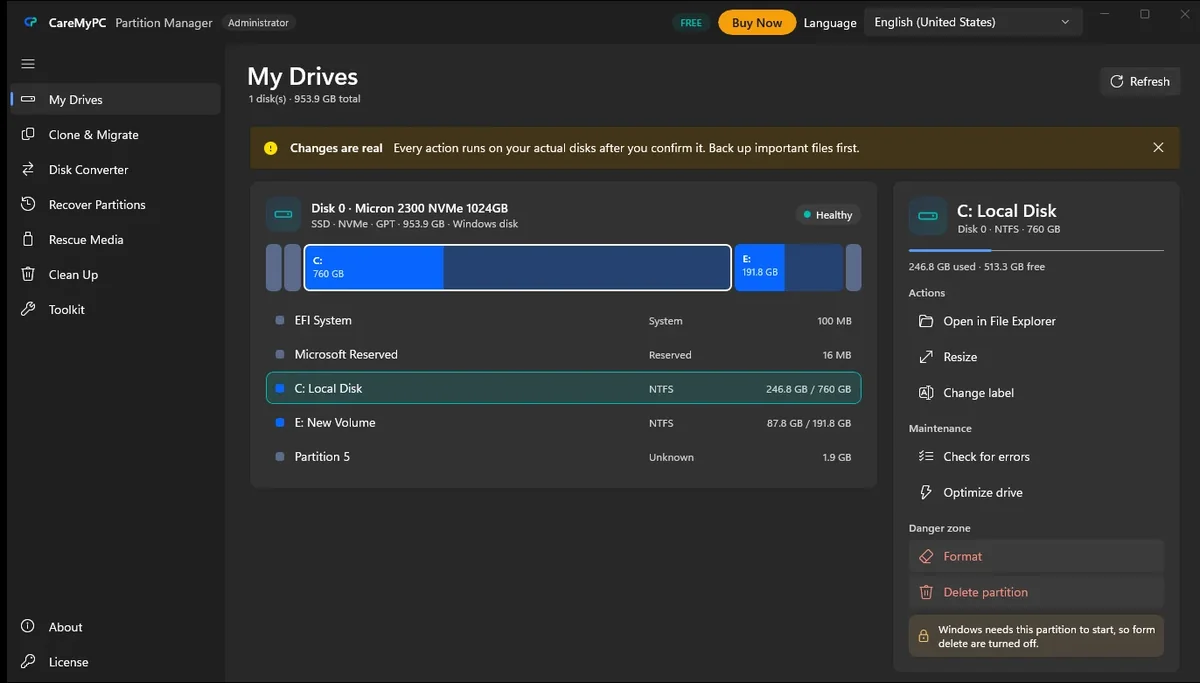
Here is how to do it with CareMyPC Partition Manager. It shows every change before it runs and keeps Windows’ system partitions protected.
- Back up important files first. Resizing is safe when done correctly, but a power cut in the middle of any disk operation can cause damage. An external drive or cloud backup takes minutes.
- Close other apps and plug in a laptop charger.
- Open Partition Manager and look at My Drives. Note what sits directly to the right of C: on the disk bar: unallocated space, a data partition such as D: or E:, or a small Recovery partition.
- Go to Toolkit → Increase C: drive space. If there is free space right after C:, the wizard shows how big C: will become and asks you to confirm. Your files stay in place.
- If a partition sits next to C:, the wizard explains what to change first. Usually that means using the Merge into C: wizard (next section) for a data partition you can combine with C:.
- Approve Administrator access when Windows asks. Then let it finish, and don’t switch off the PC while it works.
- Open File Explorer: C: now shows the larger size.
Tip: if BitLocker is on, the app asks you to suspend protection first. Have your recovery key saved somewhere safe before any disk change.
5. Merge another drive into C:
Some PCs come with a small C: and a big D: that you hardly use. In that case, joining D: into C: gives you one large drive. The Merge into C: wizard in Partition Manager copies the files from the other partition into a folder on C:, then joins its space to C:. Run the dry run first. It lists exactly what will happen without changing anything.
Before merging, make sure C: has enough free space to hold the files from the other drive. The wizard checks this for you.
Prefer a technician to do it?
If you’d rather not resize partitions yourself, a CareMyPC technician can do it over a secure remote session while you watch. See remote computer repair.
Common questions
Will increasing C: delete my files?
No. Resizing and moving partitions keeps the files on them. Deleting or formatting a partition is a separate action that does erase data. Always back up first anyway.
Can I take space from another physical disk?
No. A partition can only grow using space on the same physical disk. For a second disk, move big folders such as Downloads or Videos to it instead, or clone C: to a larger SSD.
How much free space should C: have?
Aim for at least 15–20% free. Windows updates alone can temporarily need 10–20 GB.
Is it safe on an SSD?
Yes. Resizing an SSD partition is a normal operation. Avoid running “defrag” tools on SSDs; Windows’ own Optimize drives already sends TRIM, which is what SSDs need.
 100%